
How to Bake Vegan Bread for Beginners
A standard bread recipe is vegan by default: flour, yeast, water and salt is all it takes. If you live in Tuscany, you may claim that salt is not needed at all! Bread making is fun, and once you have a little baking experience you will see great results.
I have spent the past year learning the basic skills involved and would like to share with you what I have learned as a newbie baker. I will give you some tips and I will share a simple recipe that I have refined over several months.
You should be prepared for mixed success initially. I encourage you to go look up other beginner resources to get a range of information. If you want a different recipe to try, it is best to get the matching tips from the same source.
Baking bread is both an art and a science, but very much an art. Commercial bakers have precise and complex recipes, but many many different recipes which highlights that there is no one right answer.
How to Knead Dough
Kneading can be a little tedious, but it is fine if you just embrace the process. I choose to bake bread on days when I am happy to be a little meditative. If you are rushed and anxious, you probably don’t have the time to bake on that day anyway.

Proofing the Dough
When we allow the dough to rest, it gives time for the yeast to feed. Yeast is a single-celled fungi that consumes sugar. If you use a bread recipe with refined sugar, the yeast can do this quickly and easily. For real bread, the yeast must break down the complex carbohydrates in the flour.

The yeast will be slowed by salt. It will also be slowed down by most other things you add that it does not consider to be food. Yeast is also more active with a warm temperature and moisture.
A byproduct of all the yeast feeding on sugar is carbon dioxide. This is what makes the dough rise.
The CO2 forms large pockets within the dough, so we need to remove the bubbles by depressing the dough. This is called ‘knocking back’ the dough.
If your dough is not visibly rising with 15 minutes of resting you should be a little concerned. If there is no progress after an hour, consider breaking the dough into small portions, rolling out and baking in a hot pan. You can then claim you always planned to make flatbread.
The time needed to proof the dough is variable, and the times I have suggested are conservative. Feel free to cut the time a little short if your family or other matters need your attention. Also, there is no harm in adding an extra hour or two if you need to go out unexpectedly. The whole process can be slowed by putting the dough in your fridge if needed.
Top 4 Mistakes of a First-Time Baker (me)
Let me first stoke your schadenfreude with a quick look at what I got wrong:
- Not enough yeast. When in doubt, add a little more – buy a nice big budget pack of instant yeast so you are not tempted to scrimp and save.
- Not enough water. I was worried about adding too much water and not having enough flour to recover. This is indeed a classic bakers problem. A dry dough is easy to work with, but for the best results you need to make it as wet as possible. It will get sticky and difficult, but add water until dough is unmanageable then dust it lightly with your flour to bring it back a little.
- Adding too much other stuff. Everything you add to the recipe will counteract the yeast. The salt already does this, but if you start adding pumpkin or tomato puree as a beginner you are laying the groundwork for a heavy flat bread. It will be difficult to hold back additional ingredients, but trust me when I say that a simple plain bread is the key to learning the craft and building confidence.
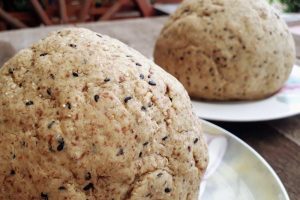
- In the same vein, don’t be in a rush to use a wholemeal flour. A finer flour will yield the most encouraging results for beginners.
Since I know many of you will use wholemeal flour and pureed vegetables, let may just add that you may benefit from a lower oven temperature and longer cooking time.
Vegan Bread: Final Baking Tips
- Be patient. This will take a few attempts to get consistent results. To make things a little easier, use the same amount of dough each time and bake it in consistent shape and size. It will take time to learn how quick or slow your oven is and the process is further delayed if you swap between small buns and massive loaves each time.
- Allow the bread to cool before slicing. It will be much easier to slice thinly and cleanly once it has cooled down. This is especially noticeable for your typical beginner’s loaf that is under or over-cooked.
- You are heating a large oven to bake your bread. If you have space, bake a tray of potatoes at the same time or roast some split mung beans. You can eat hot potatoes while you are waiting for your bread to cool.
- If you want to get really good at baking, go find experts! At this point you need a better teacher than me.
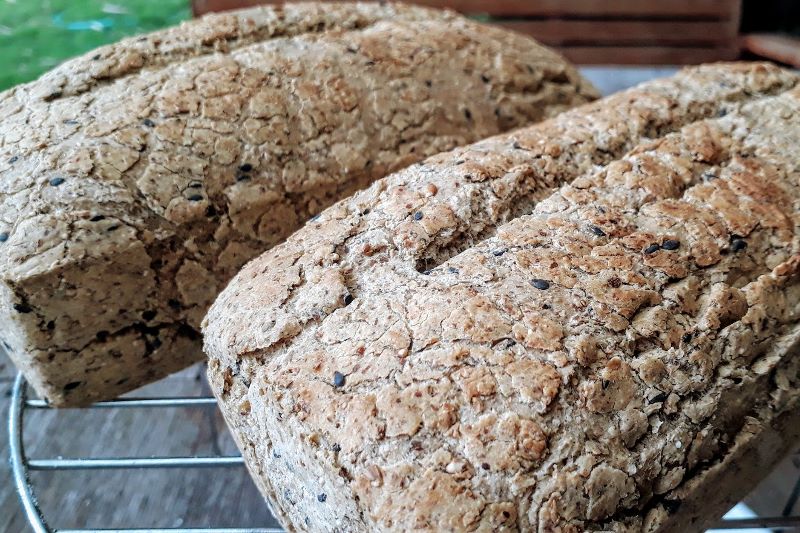
One of my go-to bread recipes is Vegan Herb Bread with Oregano & Cumin
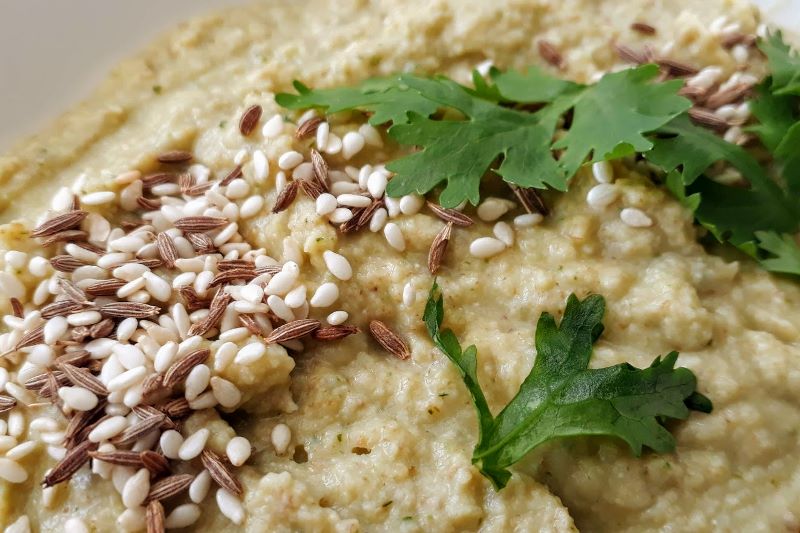
Check out our Classic Vegan Hummus recipe – it goes great with freshly baked bread